Only the most dedicated Karmann Eclectricians will have any recollection of Eleanore, the moss-covered wreck of a '67 Karmann Ghia coupe that I extracted from under a tree in Southern Oregon some 17 years ago, so here's a little something to remind you... (thanks, Mom)
https://karmanneclectric.blogspot.com/2005/12/elea-no-more.html
Eleanore is indeed no more, but I'm preserving her best feature in the form of a one-of a kind pusher trailer! Yes, the pusher, that bastard stepchild of the infernal combustion age, literally a last gasp for petro-powered propulsion, a supplemental powerplant to push an Eclectric Vehicle down the highway EVen farther from home than the battery or charging infrastructure will allow, or when one simply must make haste. But, I blew up the first pusher engine far from home on a sweltering August afternoon, and then donated the JB Straubel creation to the Historic EV Foundation.
Pusher #2 will continue to serve as a camping trailer, but has no cargo capacity and little artistic merit.
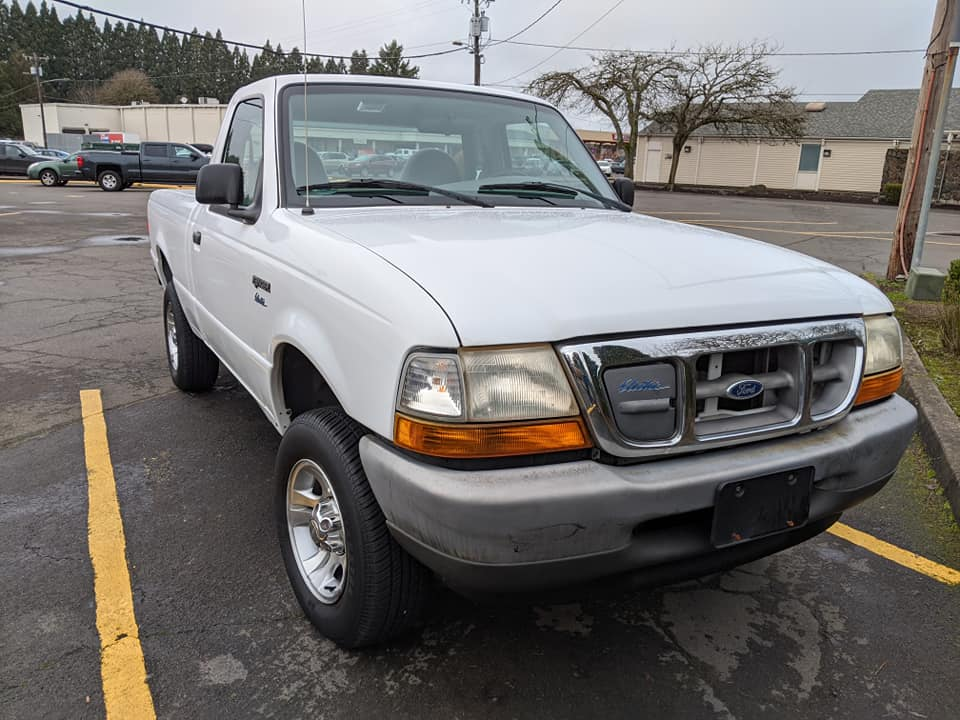
http://karmanneclectric.blogspot.com/2018/12/even-rangy-ier.html
Pusher #3 is already a thing to behold. If a thing as beautiful as a Karmann Ghia is to transport people no longer, simply remove the unneeded bits, so that is what we are doing.
BUT FIRST, a design study. There have actually been many trailers built from salvaged aircooled VWs, two of the best being made of two rear ends grafted together, as in the below creation catalogued by Ray Theriault.
I actually have two parts Ghias on hand, but didn't want to sacrifice both on the same altar, and an especially bulky souvenir that's been occupying Jay's Junkyard since it left Craigslist in '06 is a fiberglass front clip for a Ghia, usually employed by Drag Racers.
The concept having percolated for over 20 years, parts being stockpiled for 17 years, and the execution under occasional discussion with a master hotrod builder for 15 years, conditions finally gelled this summer, when Good Neighbor Tom was putting finishing touches on the most recent in a string of epic custom hot rod builds, and said to me "I was just thinking, y'know I like this one and want to drive it instead of selling it, and I don't think I've got another big project in me anytime soon. Maybe it's time for a small project, like that trailer thing you've been yammering on about!" By evening I had delivered the collected portfolio of similar projects, a couple sketches, and a bit of origami, in which I had folded the cabin out of a Karmann.

The next morning I swore in a deputy and we pressure-washed old Eleanore after shifting what remained of her insides to storage or disposal, as appropriate. Young Jason and I drug 'er across the street. I got a little nervous when Tom greeted me with Sawzall in hand, saying he was ready to try out a few ideas.... I repeated our understanding that he had full artistic control, but to please bounce the major mods past me. The next day, I was greeted by this scene of absolute carnage!
That's right- no sharpies or chalk marks, no sketching or blueprints, no CAD or EVen a carved half-model. This man sculpts in steel, and has the confidence to cut with abandon!
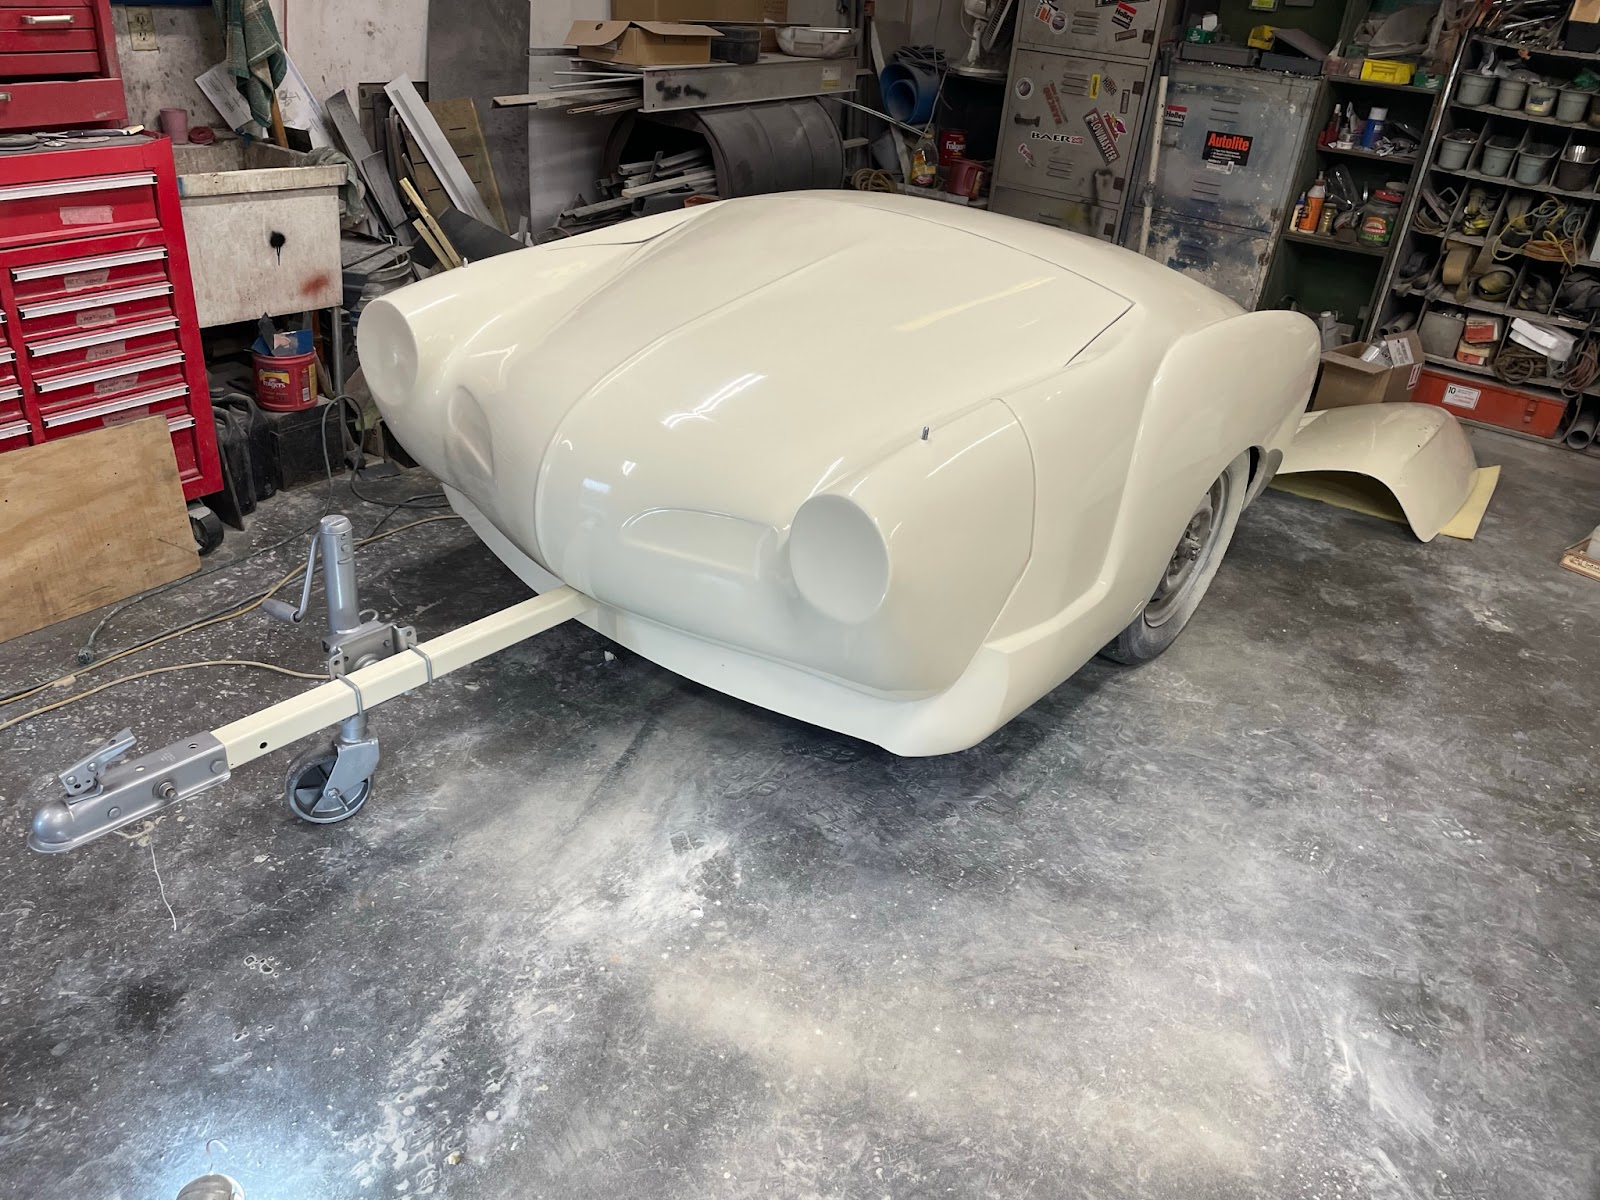
After paring away the unnecessary parts, it came time to add the essentials, namely- A Nose.
The Ghia has one of the most pronounced proboscis in all of automobilia, and all Ghia trailers I've seen to date had simply performed a full Rhinectomy, while we're more interested in the art of Rhinoplasty.
Where to put that engorgeous nose became the next question.
Not exactly a match made in heaven, more of a traffic accident than selective hybridization, but you'll get the gist over the next few fotos.
Look closely and you'll see how a single metal cut after freeing the fender from the door jamb allowed the rear fender line to flow smoothly into the front headlight tunnel.
Creativity was required to bring the lower extension of the wheel arch forward, as it normally tapers into nothing, but is now being brought forward to define a front "air dam" that will close off the bottom of the nose. The remaining sill structure will be cut away, but not until there's no chance of any of that structure being needed!
And yes, the nose still opens by hinging upward. The gasket to seal that complex join between front and rear halves may be challenging!
Here’s a couple of quick photo updates- almost time to prime!